
Learn how to safely remove your oven door in 8 simple steps. Follow our guide to remove the door for cleaning or repairs and prevent damage An oven door is a crucial component that helps keep heat inside the oven and prevents the release of hot air. Removing the door can be necessary for cleaning purposes or to perform repairs. This article will discuss the steps involved in removing an oven door and the tools required to complete the task.
Step 1: Disconnect The Power Supply
Before beginning any work on the oven, it is important to disconnect the power supply. This can be done by unplugging the oven from the electrical outlet or turning off the circuit breaker that powers the oven.
Step 2: Gather The Tools
Gather the tools required to remove the oven door, including a screwdriver, a pair of pliers, and a cloth. A screwdriver is used to remove screws, pliers are used to removing clips, and a cloth is used to protect the oven from scratches during the process.
Step 3: Locate The Hinges
The first step in removing the oven door is to locate the hinges. Oven doors are typically attached to the oven using two hinges, one on each side. The hinges are usually covered by a decorative panel at the top and bottom of the door.
Step 4: Remove The Screws
Once you have located the hinges, use a screwdriver to remove the screws that attach the hinges to the oven. Place the screws in a safe place where they won’t be lost.
Step 5: Release The Door
Once the screws have been removed, the door should be free to lift off the hinges. To release the door, gently lift it up and away from the oven. You may need to use pliers to remove any clips or hooks holding the door.
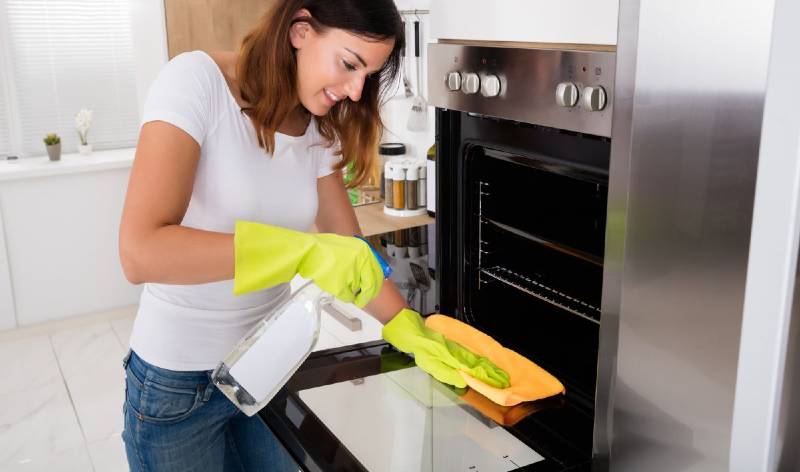
Step 6: Clean The Door
With the door removed, it is now possible to clean it thoroughly. Use a damp cloth to wipe down the door and the hinges. If the door is especially dirty, you can use a mild detergent.
Step 7: Replace The Door
To replace the door, simply reverse the steps outlined above. Start by placing the door back on the hinges and securing it with the screws. Ensure the door is properly aligned and the hinges are secure.
Step 8: Test The Door
Once the door has been replaced, it is important to test it to ensure it is securely attached. Open and close the door a few times to ensure that it moves smoothly and that there are no loose screws or clips.
Tips For Removing The Oven Door Safely:
Always wear gloves: Wearing gloves while removing the oven door is important to protect your hands from hot surfaces and sharp edges.
Use caution when handling the door: The oven door is heavy and difficult to maneuver. Be sure to handle it carefully to avoid damaging it or injuring yourself.
Be patient: Removing the oven door can take time, especially if you need to familiarize yourself with the process. Take your time and be patient to ensure you do not damage the door or the oven.
Check for additional screws or clips: Some ovens may have additional screws or clips that need to be removed to release the door. Check the hinges, the door frame, and the oven for any additional fasteners that need to be removed.
Keep track of screws and clips: It is important to keep track of all screws and clips removed during the process. Make sure to keep them safe, so they will not be lost.
Clean the hinges: The hinges can accumulate grease and grime over time, making removing the door difficult. Make sure to clean the hinges thoroughly during the cleaning process.
Check for any damages: Once the door has been removed, inspect it for any damages or cracks. If the door is damaged, it may need to be replaced before it can be reinstalled.
Seek professional help: If you need clarification on removing the oven door or encounter any problems, seek professional help. A trained technician can safely and efficiently remove the door for you.
By following these tips, you can ensure that removing the oven door is safe and efficient. Whether cleaning your oven or performing repairs, removing the door is an important step that should be approached with care.
Conclusion
Removing an oven door is a relatively simple task that can be completed in a few steps. Following the steps outlined in this article, you can easily remove the oven door for cleaning or repairs. Always disconnect the power supply before working on the oven, and be careful when handling the door to prevent damage.
FAQ’s
Why would I need to remove the oven door?
There could be several reasons, such as cleaning the door, replacing parts, or accessing the inside of the oven.
Is it difficult to remove the oven door?
The difficulty can vary depending on the type and model of the oven, but generally, it can be done with basic tools.
What tools do I need to remove the oven door?
A screwdriver and possibly pliers are the only tools needed.
Can I remove the oven door, or do I need professional help?
You can often remove the oven door with a few simple steps. However, it is always better to seek professional help if you are unsure or uncomfortable.
Is it safe to remove the oven door?
Yes, it is generally safe to remove the oven door as long as you follow the manufacturer’s instructions and use caution when handling the door.
How do I properly remove the oven door?
The process of removing the oven door will vary based on the type and model of the oven. Please refer to the manufacturer’s manual or seek professional help for specific instructions.
Can I put the oven door back on after removing it?
Yes, as long as you follow the manufacturer’s instructions, you should be able to put the door back on.
What should I do if I cannot properly reattach the oven door?
If you are unable to properly reattach the oven door, it is recommended to seek professional help.